Replastering Damp Walls
and Controlling Salt Contamination
Walls affected by Rising Damp are subject to both moisture and contaminating salts, which show as unsightly ‘tide lines’ and salt deposits (‘efflorescence’) on the surface. Plaster, paint, and even timber skirting boards are spoilt by the effects of moisture and contaminating salts. Read on to find out how to replaster walls to mitigate these unwanted effects.
Estimated Reading Time: 5 mins

When treating Rising Damp, this damaged plaster should be removed before installing a remedial damp-proof course and replastering, reinstating plaster to a new and dry finish.
Once established, a correctly installed remedial damp-proof course prevents further rising damp by interrupting the capillary movement of moisture through the masonry. However, it does not remove residual moisture or hygroscopic salts already present in the wall or existing plaster.
Soluble salts can remain within the masonry and plaster after the rising damp has been treated. Hygroscopic salts can continue to absorb moisture directly from the surrounding air. As the wall dries, residual moisture can also carry soluble salts towards the surface. This can produce persistent damp patches and damage plaster, paint and other decorative finishes.
A suitable replastering system must protect the decorative surface from residual moisture and salt migration during the drying process. It may typically comprise a salt-resistant renovation plaster or a physical membrane separating the finish from the contaminated masonry. The appropriate system will depend on the wall condition, level of contamination and planned finish.
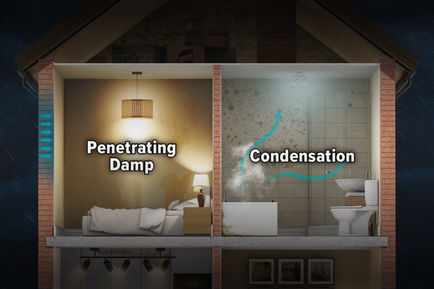
Always identify and treat the source of dampness before starting remedial work. Do not assume that every low-level damp problem is rising damp. Traumatic damp, penetrating damp, condensation or a bridged DPC all require different corrective measures.
Replastering is typically necessary after rising damp treatment.
Heavily contaminated plaster may show dampness, blistering, softening or other visible deterioration. Moderate salt contamination can be harder to identify and may cause problems after redecoration. Remember, gypsum plaster is generally less resistant to salts than damp-resistant renovation plaster.
Use a Dryzone Moisture Meter to establish the extent of the dampness. Plaster should be removed to a height of 1m above the damp proof course or 300mm above the highest detected level of dampness, whichever is greater.
If in doubt, a suitably experienced surveyor or damp-proofing specialist should be able to determine the extent of plaster removal.
The extent of plaster removal depends on the selected system and the level of contamination. Traditional renovation plaster and Dryzone Express generally require contaminated plaster to be removed back to masonry. The specified removal height will normally extend beyond the highest visible signs of dampness or salt contamination. Membrane systems may allow existing sound plaster to remain, although loose, soft or poorly bonded material must still be removed. Voids, hollows and loose areas of masonry may also be made good with Drybase Universal Mortar.
Where rising damp has been confirmed, Dryzone Damp-Proofing Cream or Dryrod Damp-Proofing Rods can establish a remedial DPC within a mortar course. The wall will begin to dry once the DPC becomes effective. Compatible replastering systems manage residual moisture during this process, so the masonry does not normally need to dry completely before the wall finish is reinstated.
Some specifications may include Drybase Liquid-Applied DPM at the floor-to-wall junction. This provides low-level protection between the floor and DPC and helps prevent the new plaster from bridging the damp-proof course.
Safeguard offers several approaches to replastering after rising damp treatment. These include traditional renovation plaster, plasterboard-based Express replastering and two membrane-based systems.
Dryzone Fast-Set Renovation Plaster provides a wet-applied finish for damp and salt-contaminated masonry. It is particularly useful on uneven walls and where a traditional plaster finish is required.
Its porous structure helps control salt migration while allowing residual moisture to leave the wall as water vapour.
The system build-up consists of:
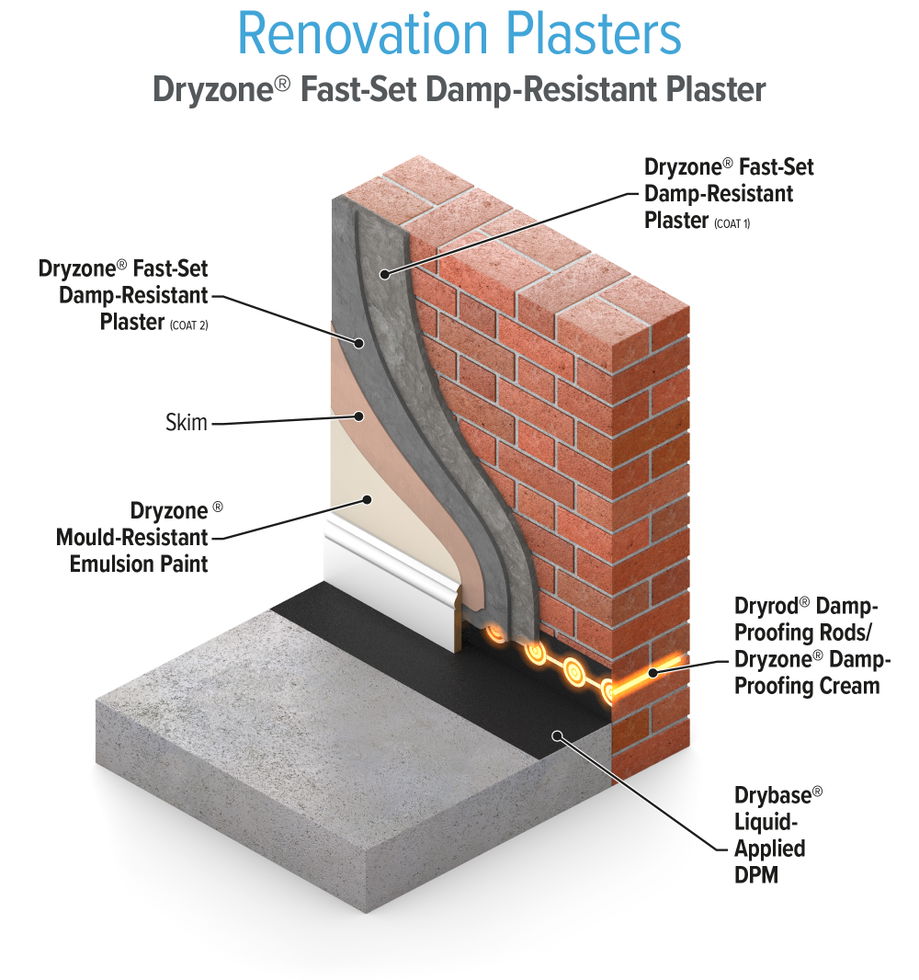
Dampen dry or highly absorbent masonry with clean water before plastering. Do not use PVA or other additives.
Apply the first coat with a textured surface to provide a key. Once this layer has become sufficiently firm, apply the second coat and level it without excessive pressure. A total plaster thickness of at least 20 mm provides the greatest resistance to moisture and salts.
Allow the plaster to set before applying the skim coat. Drying and finishing times will vary with temperature, humidity and plaster thickness. Follow the current product datasheet before decorating.
Dryzone Express is a system for refurbishing walls with plasterboard after rising damp treatment.
It avoids conventional wet backing plasters and provides a faster route to a smooth internal finish.
The system build-up consists of:
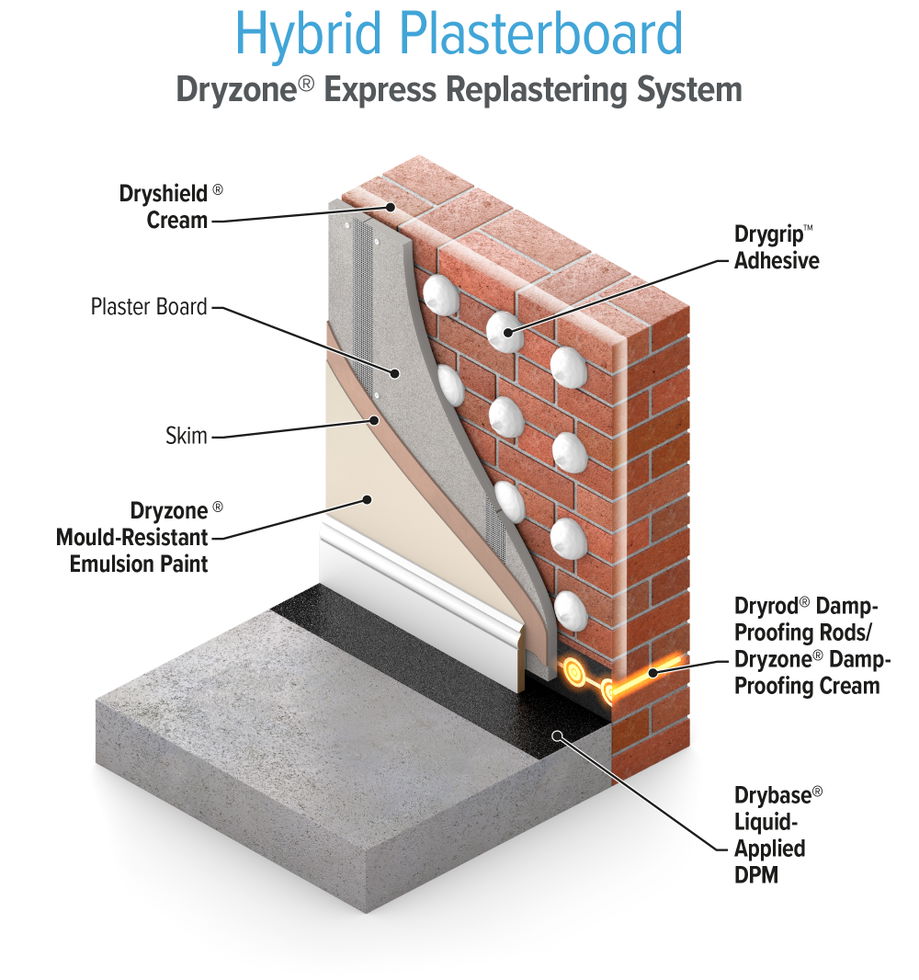
Apply Dryshield Cream evenly to the prepared masonry. The cream acts as a primer and helps limit the movement of salts into the new wall finish.
Once the cream has absorbed, apply Drygrip Adhesive to the back of the plasterboard in regularly spaced dabs. Position each board so it remains clear of the floor and does not contact the masonry directly. Use the specified secondary fixings where required.
After the adhesive has set, tape the joints and apply the selected finish. Insulated plasterboard may also be suitable, subject to condensation-risk assessment and the requirements of the project specification.
The Drybase Flex system combines a low-profile sheet membrane with a wet-applied plaster finish. It provides a physical barrier between the damp or salt-contaminated wall and the new decorative surface.
Drybase Flex Membrane has a fleeced surface on both sides. One side bonds to the prepared masonry using Drybase Flex Adhesive.
The exposed fleece accepts a plaster finish without mechanical membrane plugs.
The system build-up consists of:
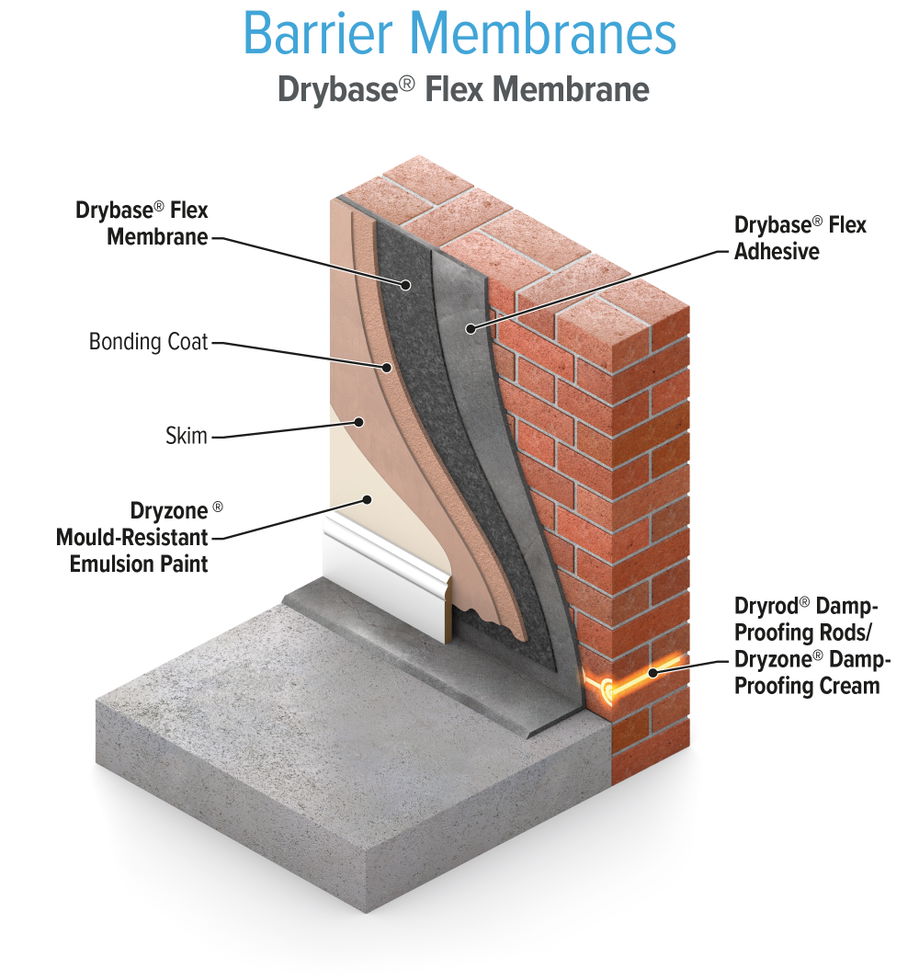
Repair structural defects and clean the masonry before applying the adhesive. Spread Drybase Flex Adhesive evenly over the wall, working on a manageable area at a time.
Press the membrane into the adhesive and work from the centre towards the edges. Maintain full contact and remove trapped air. Leave a 25 mm gap above the floor and overlap adjoining membrane sheets by at least 50 mm.
Once the adhesive has cured, apply a suitable bonding or hardwall plaster followed by the skim coat.
Drybase Plaster Membrane can also support a bonded plasterboard finish. This provides a dry-lined surface similar in principle to Express replastering, while the membrane separates the board from damp and salt-contaminated masonry.
Prepare, fix and seal the membrane as described above. Bond the plasterboard using a suitable dab adhesive or low-expansion polyurethane foam adhesive.
Apply adhesive over the membrane plug heads and across at least 50% of the membrane area. This transfers the load through the fixings to the masonry background.
Once the boards are secure, tape the joints and apply a skim coat or another specified plasterboard finish. Follow the adhesive and plasterboard manufacturers’ instructions for setting, finishing and decoration.
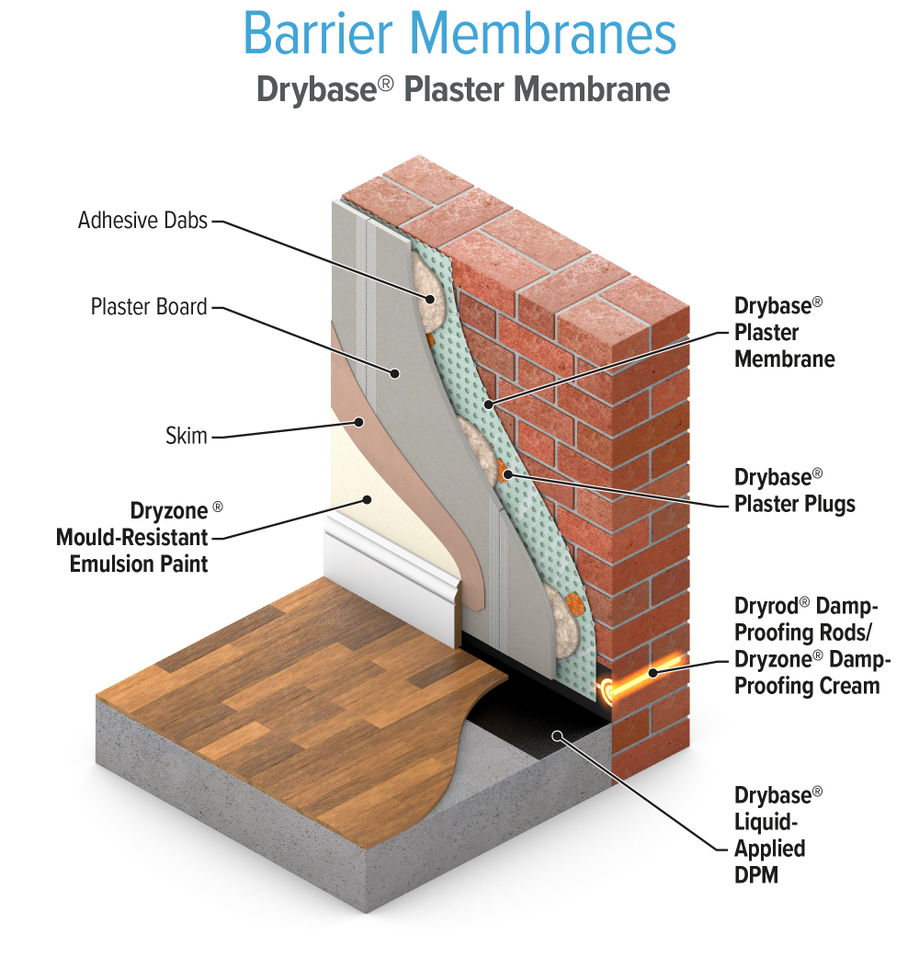
Drybase Plaster Membrane can also support a bonded plasterboard finish. This provides a dry-lined surface similar in principle to Express replastering, while the membrane separates the board from damp and salt-contaminated masonry.
Prepare, fix and seal the membrane as described above. Bond the plasterboard using a suitable dab adhesive or low-expansion polyurethane foam adhesive.
Apply adhesive over the membrane plug heads and across at least 50% of the membrane area. This transfers the load through the fixings to the masonry background.
Once the boards are secure, tape the joints and apply a skim coat or another specified plasterboard finish. Follow the adhesive and plasterboard manufacturers’ instructions for setting, finishing and decoration.
Moisture can remain within a wall for a considerable period after rising damp treatment. The replastering system must protect the decorative surface from this moisture and from hygroscopic salts during the drying process.
As a general rule, you must allow the backing plaster or skim coat to dry and cure as specified. Ensure the plaster has fully cured before applying other decorative finishes. Where a breathable finish is required, ensure a breathable emulsion paint is applied. Membrane and plasterboard systems may permit other finishes, subject to their individual specifications. Dryzone Mould-Resistant Emulsion Paint can also be applied in areas of high mould risk, as a final fail-safe after prevention of the potential underlying causes.
Dryzone Fast-Set Renovation Plaster suits uneven walls and projects requiring a traditional wet-plaster finish.
Dryzone Express provides a faster plasterboard-based method with less wet work.
Drybase Flex creates a low-profile physical barrier and accepts a plaster finish without mechanical plugs.
Drybase Plaster Membrane suits contaminated or irregular above-ground walls where a mechanically fixed membrane and plaster or plasterboard finish is preferred.
The final choice should consider the wall construction, salt contamination, required finish, heritage requirements and project programme. Seek advice from a damp-proofing specialist where the cause of dampness or required system build-up is uncertain.




How can we help?
Downloads
Related Pages
Get it Done

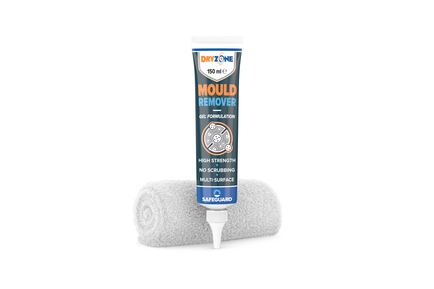
Remove stubborn mould stains from hard-to-clean areas with Dryzone Mould Remover Gel.
Read More
Although mould often becomes visible during colder months, the conditions that allow it to develop may exist long before winter arrives. Taking action during summer can reduce the risk of complaints, protect the condition of the property and help keep accommodation healthy and comfortable for tenants.Here are five practical steps to take before the new academic year begins:
Read More
Keeping mobile, TV & laptop screens clean is important for productivity & hygiene. Here are five rules for cleaning screens perfectly.
Read More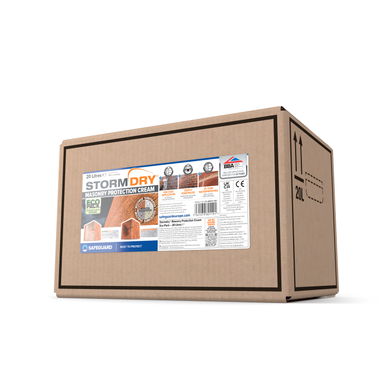
Reduce plastic use on site with Stormdry Masonry Protection Cream - now available in 20L Eco packaging.
Read More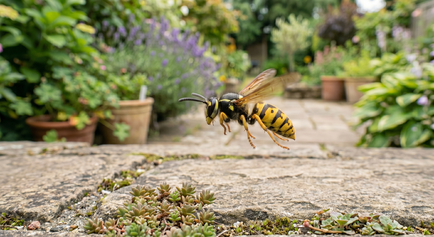
Wasps, hornets and nests cause big problems in summer. Read this to find out how to locate, identify and get rid of wasps and hornets.
Read More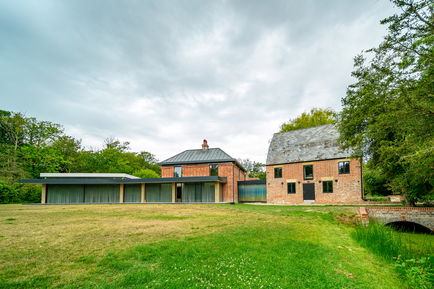
Find out how we helped dry out this 18th century Grade II listed mill house renovation in the New Forest
Read More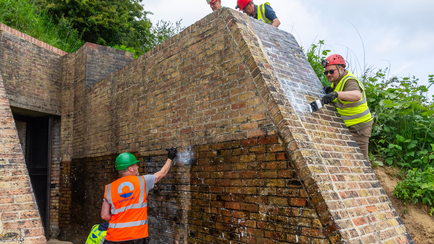
Discover how Stormdry Masonry Protection Cream was used on World War 2-era gun battery magazine buttresses at Dover.
Read More
With Tibby Singh and YDC Basements, Safeguard waterproofed a basement at an end of terrace home in Leeds using Drybase Tanking System.
Read MoreSubscribe to get information about products and offers.